
Getting OpenClaw up and running isn’t hard, but it does help to have a clear path. Whether you’re building a personal AI assistant or wiring up messaging channels like WhatsApp or Telegram, the initial setup can raise a few questions. Where should the gateway run? Do you need a second phone? What’s up with the heartbeat file?
This guide walks through everything step-by-step, without assuming you’ve read the entire docs front to back. If you’re here to actually use OpenClawб not just test it once and forget it, you’re in the right place.
What Is OpenClaw, and Why Use It?
OpenClaw is an open-source autonomous AI assistant framework that runs locally, connects AI models to messaging platforms, and enables agents to execute tasks, manage sessions, and automate workflows. Think of it as a local AI assistant framework that not only connects your models to messaging platforms but also runs logic, manages sessions, and automates tasks on your terms.
It’s especially useful if you want:
- A personal assistant that runs on your machine.
- Fine-tuned control over what messages your agent can send or receive.
- Workspace-level memory and config files.
- Support for voice, media, and proactive messages (via heartbeats).
Whether you’re building a companion for daily tasks or experimenting with automation, OpenClaw helps you bring it all together without relying on cloud platforms you can’t control.
What You Need Before You Start
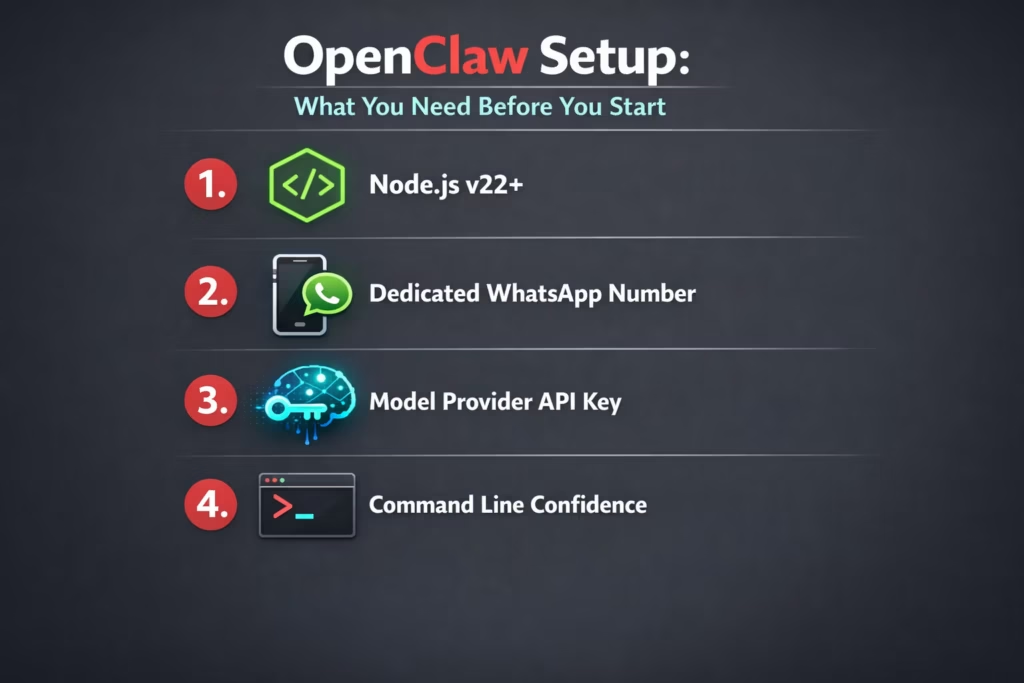
- Node.js v22 or newer: Run node –version in your terminal. If it’s outdated, update via your OS package manager or Node installer.
- A phone number for WhatsApp: If you’re using WhatsApp as a channel, use a dedicated number. Linking your personal WhatsApp is not recommended.
- A model provider API key: You’ll need access to an LLM. Claude via Anthropic is the most supported, but OpenAI and custom endpoints work too.
- A bit of command line confidence: You don’t need to be a sysadmin, but you should be comfortable running scripts and editing small config files.
Step-by-Step: CLI Setup
If you’re on macOS, Linux, or Windows (via WSL2), the CLI is your go-to.
1. Install OpenClaw
For macOS or Linux, use curl -fsSL https://openclaw.ai/install.sh | bash
For Windows, WSL2 is strongly recommended. Run the same script inside WSL.
2. Run the Onboarding Wizard
Launch the guided flow with openclaw onboard. The wizard starts in QuickStart mode by default, which configures a local gateway, workspace, auth token, and default messaging settings. You can switch to Advanced mode for full control over gateway, routing, and channel configuration.
You’ll be asked to:
- Choose a model provider (Anthropic, OpenAI, or custom).
- Enter your API key.
- Set up your workspace directory.
- Configure your gateway (port, address, auth settings).
- Add a messaging channel (like WhatsApp or Telegram).
You can rerun the wizard any time. It won’t overwrite existing settings unless you use –reset.
The Workspace: Where the Agent Lives
When you install OpenClaw, you are creating more than a gateway. You are setting up a workspace – the directory where your agent’s personality, instructions, and memory actually live. By default, it’s located at ~/.openclaw/workspace.
On the first run, OpenClaw generates several core files automatically. These include AGENTS.md for roles, SOUL.md for tone and behavior, TOOLS.md for capabilities, IDENTITY.md for defining who the agent is, USER.md for operator context, and HEARTBEAT.md for proactive tasks. You can edit these at any time to shape how your assistant responds and thinks.
Two files work a little differently. BOOTSTRAP.md appears only during the very first workspace creation and does not return if removed. MEMORY.md is optional, if you want persistent memory beyond regular sessions, you create and manage it yourself.
It helps to treat this folder like a real project. Many people version it with Git so changes can be tracked and rolled back. In simple terms, the gateway runs your assistant, but the workspace defines who it is.
Bringing Your Agent to Life: Dashboard, Channels, and Beyond
Once your base setup is in place, the real fun begins. This is where your OpenClaw agent goes from a quiet config folder to an actual assistant you can chat with, route through messaging platforms, and even automate. Below is a walkthrough of how to interact with your agent, connect channels like WhatsApp and Telegram, run it in the background, and unlock advanced behavior like heartbeats and media handling.
Start the Gateway and Open the Dashboard
To run the gateway in the foreground, execute:
openclaw gateway –port 18789
If you installed OpenClaw as a background service during onboarding, the gateway may already be running.
Once it’s active, open the Control UI in your browser at:
http://127.0.0.1:18789/
This opens the local dashboard, where you can chat with your agent directly, verify configuration, and test responses before connecting any external messaging channels.
Connecting Messaging Platforms
Once things are working in the dashboard, you can bridge your agent to real-world apps like WhatsApp, Telegram, or iMessage. Here’s how that works.
WhatsApp Setup
You’ll need a dedicated phone number for the assistant. A separate SIM or eSIM is strongly recommended to avoid routing personal messages into the agent. Don’t link your personal WhatsApp to OpenClaw – every message to that number becomes input for the agent, which can get messy fast.
Pair your assistant number using the QR flow openclaw channels login.
Then update your config to allow only specific numbers to message the agent:
{
“channels”: {
“whatsapp”: {
“allowFrom”: [“+15555550123”]
}
}
}
This step is critical for safety. Leaving WhatsApp open to the world is never a good idea.
Telegram and Other Channels
Telegram setup uses the CLI wizard, where you provide a bot token generated via BotFather and configure allowlists. Most other channels follow a similar structure: enable the channel in your config, provide credentials if needed, and set allowlist rules for users or groups.
Multi-platform routing is supported, so your agent can listen on several apps at once, each with different rules.
Keeping the Agent Running in the Background
If you don’t want to start the gateway manually every time, you can enable background service mode.
macOS
Installs a LaunchAgent that autostarts on login:
openclaw onboard –install-daemon
Linux / WSL2
Installs a systemd user unit for long-term stability:
openclaw onboard –install-daemon
To confirm the service is running:
openclaw status
You can run this anytime to check gateway status, sessions, or config issues.
Enabling Heartbeats for Proactive Behavior
Heartbeats let your agent act on its own every so often. By default, OpenClaw runs a check-in every 30 minutes.
It reads instructions from HEARTBEAT.md in the agent’s workspace and responds accordingly. If there’s nothing to do, it simply replies with HEARTBEAT_OK.
You can tweak the frequency or disable it entirely:
“agent”: {
“heartbeat”: {
“every”: “30m”
}
}
This is where OpenClaw gets really useful. You can use heartbeats to:
- Check system status.
- Remind yourself of tasks.
- Trigger workflows automatically.
Handling Media (Images, Audio, Files)
OpenClaw supports rich media, both incoming and outgoing.
Incoming Media
Media from users gets passed as placeholders:
- {{MediaPath}}: Local temp path.
- {{MediaUrl}}: Pseudo-URL for handling.
- {{Transcript}}: Available for audio if transcription is enabled.
Outgoing Media
Your agent can send attachments by including a line like:
MEDIA:https://example.com/screenshot.png
That file will be sent alongside the text. It’s useful for screenshots, PDFs, charts, or anything the agent generates or references.
Managing Multiple Agents
OpenClaw supports running multiple agents side-by-side. Each one has its own personality, memory, and routing logic.
To add a new agent:
openclaw agents add helper-bot
Each agent gets:
- A separate workspace (e.g. ~/.openclaw/workspace-helper-bot).
- Independent session files and state.
- Configurable model and thinking preferences.
You can route inbound messages to different agents using the routing section of your config. This lets you set up specialized bots – one for work tasks, another for fun, or a separate one for each platform.
Useful Commands Cheat Sheet
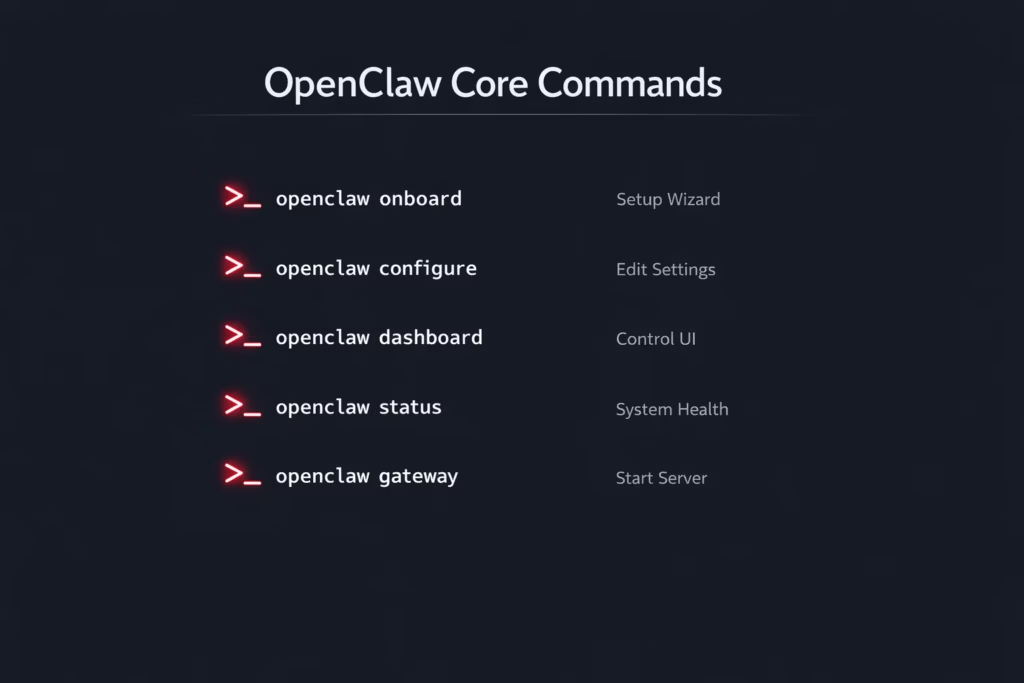
Here’s a few you’ll end up using regularly:
- openclaw onboard: Run the setup wizard.
- openclaw configure: Edit specific sections later.
- openclaw dashboard: Open the control UI.
- openclaw status: Check if everything is working.
- openclaw gateway: Start the agent server.
How Much Does It Cost to Set Up?
OpenClaw itself does not cost anything. It’s open source, so you can install it and run it without paying for the software. The real expenses come from the services you connect to it.
At minimum, you need a machine to run the Gateway. For most people, that’s just a Mac, Linux laptop, or desktop they already own. If you decide to host it remotely instead of running it locally, then you’ll be paying for a small server somewhere. That adds a monthly cost, but it’s usually modest.
The bigger ongoing expense is the AI provider. Whether you choose Claude, OpenAI, or another compatible endpoint, you’ll be billed based on usage. If you’re running a personal assistant that you use regularly but not constantly, the monthly cost tends to stay reasonable. Heavy usage, long sessions, or frequent heartbeats can push it higher.
If you plan to connect WhatsApp, a dedicated phone number is strongly recommended. That might mean picking up a low-cost SIM or eSIM. It’s not a large expense, but it’s something to factor in if you want a clean, separate assistant identity.
So while OpenClaw is free, a practical setup usually comes with small recurring costs tied to AI usage, messaging access, and possibly hosting. The good news is that you’re in control of all of it. You can run everything locally, limit usage, and scale up only if you actually need more power.
Final Thoughts
If you like to tinker, value privacy, or just want more control over how AI interacts with your apps, OpenClaw is a great option. The learning curve is there, but it’s manageable, especially with the CLI wizard doing most of the heavy lifting.
Give yourself a few hours on a quiet afternoon, and you’ll come away with a fully functioning AI agent that lives on your terms, not someone else’s platform.
FAQ
It’s strongly recommended. While technically possible to use your primary WhatsApp, all messages to that number will be treated as agent input, which is usually not ideal.
The software itself is free and open source. But depending on your setup, you might spend money on things like an AI provider (Claude or OpenAI), a phone number for WhatsApp, or optional cloud hosting. You control the costs by choosing which services you connect to.
If you’re running OpenClaw manually in a terminal, it stops. But if you’ve set it up as a background service (using LaunchAgent on macOS or systemd on Linux/WSL2), it’ll start automatically when your machine boots. That’s usually the better long-term setup.
Absolutely. Each agent gets its own workspace, memory, and behavior. You just need to make sure messages are routed to the right one. This is great if you want different assistants for different use cases, like one for work, one for personal tasks, or even one that just handles reminders.
It happens. The good news is, you can rerun the openclaw onboard wizard without wiping anything unless you choose the reset option. If you’re really stuck, openclaw doctor can help diagnose issues. And worst case? Delete the config and start fresh. It’s not that painful once you’ve done it once.